






The Short Answer
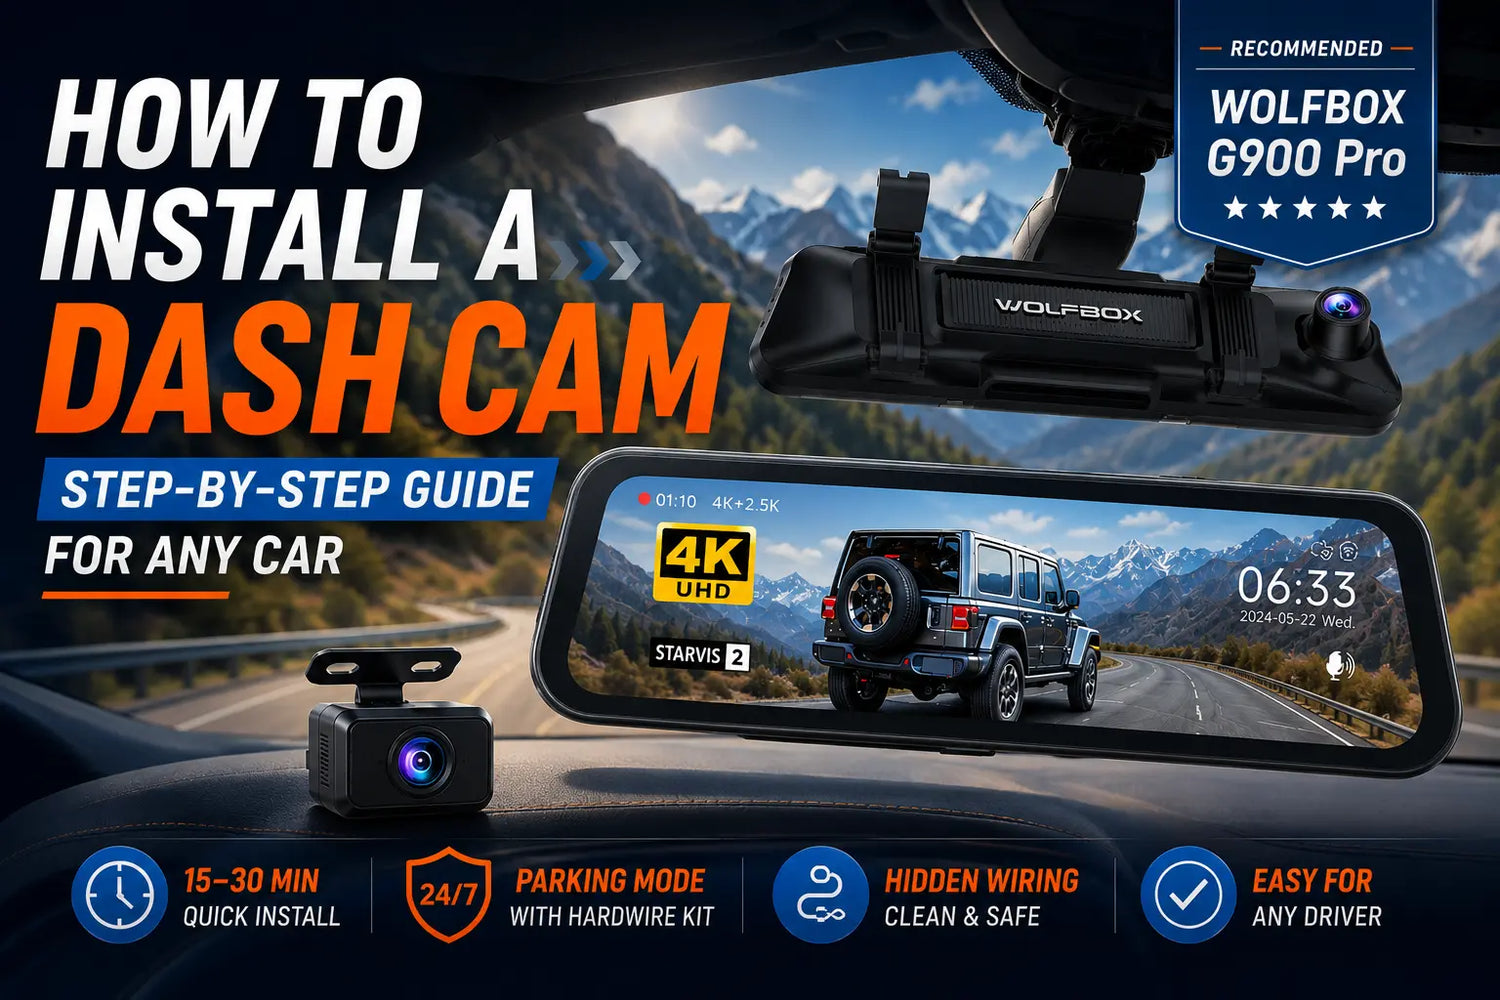
Installing a dash cam takes 15 to 30 minutes using the cigarette lighter method, or 45 to 90 minutes if you hardwire it into the fuse box for 24/7 parking mode. The basic steps: attach the mount, insert an SD card, route the power cable along the headliner and A-pillar, and plug into a power source. For a mirror dash cam like the Wolfbox G900 Pro, you also route a rear camera cable to the back windshield.

What You Need
- Your dash cam and all included accessories (mount, power cable, rear camera cable if dual-lens)
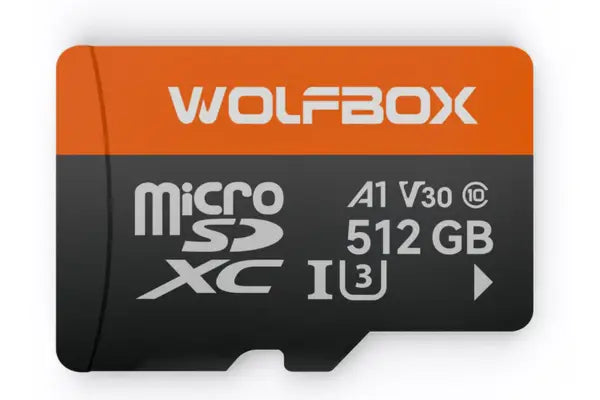
- A microSD card — Class 10 / U3 / V30 rated (the Wolfbox G900 Pro supports up to 512GB)
- A plastic trim removal tool or a flat screwdriver wrapped in tape
- Adhesive cable clips or zip ties
- A hardwire kit (optional — required for 24/7 parking surveillance)
- A clean microfiber cloth to prepare the windshield before mounting
Method 1: Cigarette Lighter / 12V Socket
This is the most common installation method. The camera draws power from your 12V socket, turns on automatically when you start the engine, and switches off when you stop. No permanent modification is required.
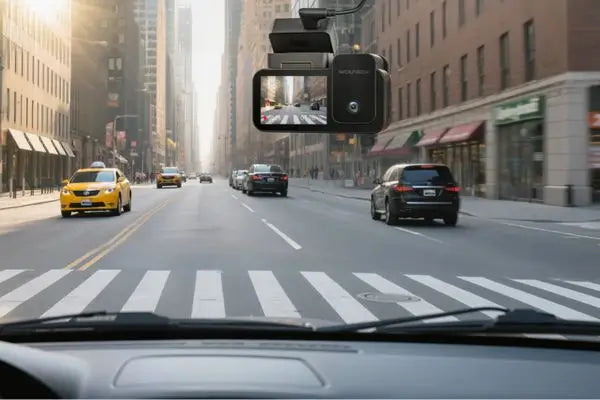
- Clean the mounting area: Wipe the inside of the windshield where the mount will go with a microfiber cloth. Oils and dust prevent the adhesive from bonding cleanly. Position the mount just below the rearview mirror, within the path of the driver's wiper blade so rain is cleared from the lens automatically.
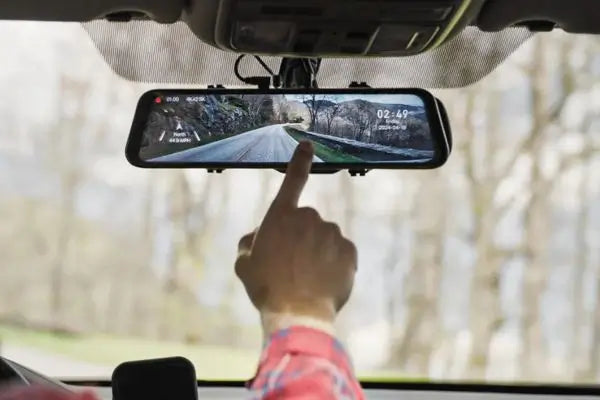
- Attach the mount: Peel the adhesive backing and press firmly for 30 seconds. For mirror dash cams (Wolfbox G900 Pro, G900 TriPro), wrap the elastic straps over your existing factory rearview mirror — no adhesive or drilling needed.
- Insert the SD card: Do this before you power on. For 4K cameras like the Wolfbox G900 Pro, use a U3 or V30 rated card to handle the high-bitrate recording without dropped frames.
- Route the power cable: Tuck the cable under the rubber gasket at the top of the windshield, run it across the headliner (the fabric ceiling), then down the A-pillar (the door post between the windshield and front door) and into the dashboard. Use the trim removal tool to press cable cleanly behind panels.
- Plug in and test: Connect to the 12V socket. Start the car — the camera should power on, display a preview, and begin recording automatically. Most Wolfbox cameras also confirm GPS lock within 60 seconds.
- Adjust the camera angle: Tilt the lens so the horizon sits in the upper third of the frame, with the road occupying most of the view and a small band of sky at the top. For mirror dash cams, adjust the display angle for comfortable sightline.
Method 2: Hardwire Kit (for Parking Mode)
Hardwiring connects the dash cam directly to your vehicle's fuse box so it remains active even when the engine is off. The camera stays in low-power standby mode and begins recording when it detects motion or an impact. This enables 24/7 parking surveillance — essential if your vehicle parks in public lots, on the street, or anywhere it could be hit or tampered with. Budget 45 to 90 minutes and have basic electrical comfort before attempting this method.

- Find the fuse box: Usually located under the dashboard on the driver's side or in the engine bay. Your owner's manual shows the exact location and fuse layout.
- Identify the right fuses: You need one ACC (accessory) fuse — live only when the ignition is on — and one constant-power fuse that is always live. Use the fuse tester included with your hardwire kit to identify each.
- Install the fuse taps: Remove the target fuses, plug them into the fuse tap adapters, then insert the adapters back into the fuse slots. Connect the hardwire kit's red wire to the ACC fuse tap and yellow wire to the constant-power tap, following the kit's wiring diagram.
- Ground the kit: Connect the black ground wire to a bare metal bolt or screw on the vehicle chassis. Do not ground to a painted surface — a poor ground is the most common cause of installation problems.
- Route the cable: Run the hardwire kit's output cable along the same headliner and A-pillar path used in Method 1. Secure with adhesive clips.
- Test all modes: Start the car and confirm normal recording. Turn off the ignition and confirm the dash cam transitions to parking mode (look for the parking mode icon on the screen or wait for the screen to dim while the camera stays active).
Installing the Rear Camera
All Wolfbox front-and-rear cameras — including every mirror dash cam model — include a separate rear camera that mounts on the back windshield.
- Mount the rear camera on the rear windshield — inside with suction cup or adhesive, or externally on the body with the waterproof bracket
- Route the rear camera cable along the headliner from back to front, tucking into the B-pillar (center door post) and door sill rubber trim to keep it hidden
- Connect the cable to the rear camera input port on the front unit
- In the camera settings menu, set the rear camera orientation — "mirror" mode if the camera faces forward through the glass, "normal" if facing directly rearward
Tips for Specific Drivers
Uber and Lyft drivers: Use the hardwire method and enable parking mode. A 3-channel camera like the Wolfbox G900 TriPro records front, rear, and interior simultaneously — providing a complete record of every ride.

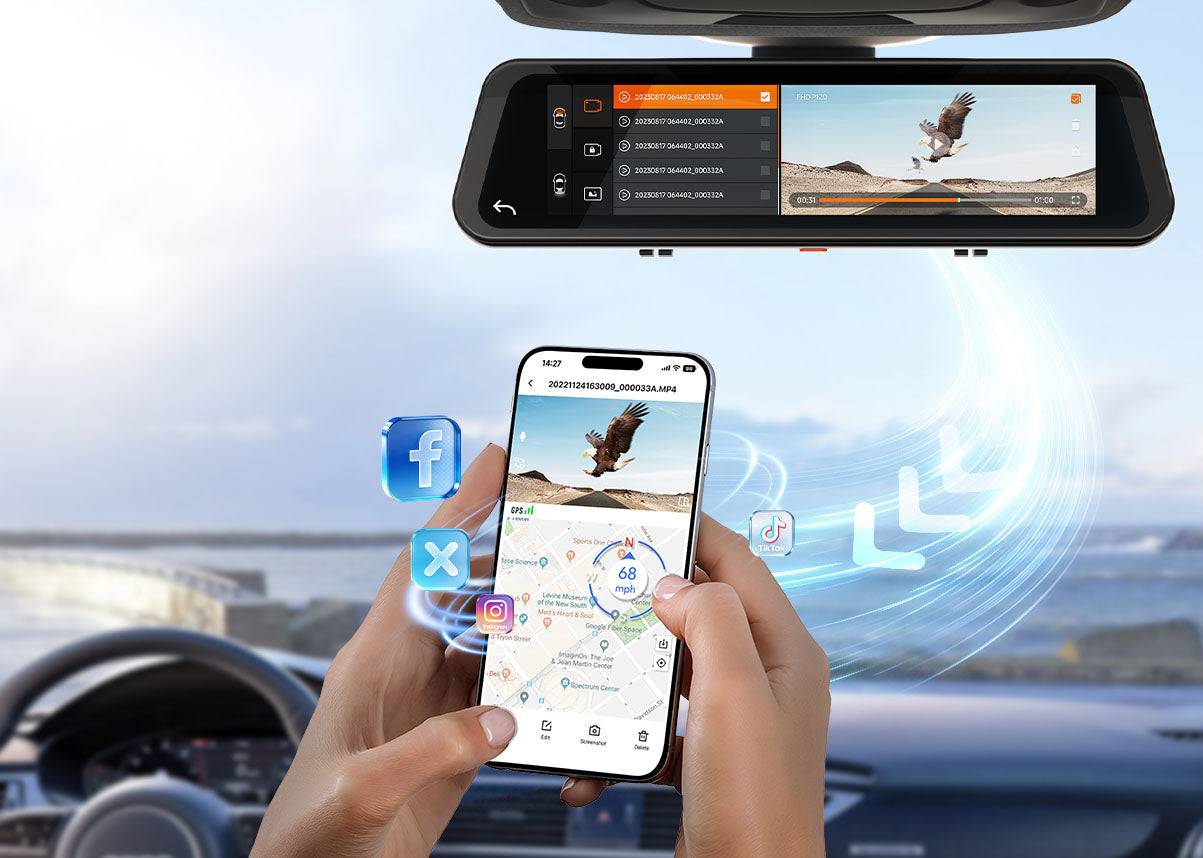
Truckers and commercial drivers: Mount as high on the windshield as possible for maximum road coverage. Enable the GPS speed overlay feature (standard on Wolfbox G900 Pro) so your speed is embedded directly in the footage — useful for fleet compliance and incident reporting.
SUV and truck owners: Wolfbox rear cameras support both inside-glass and external waterproof mounting. For trucks with cab-height rear windows or bed covers, the G900 TriPro Bumper Version places the front camera on the bumper for an unobstructed exterior view.
Older vehicles without USB ports: Use the cigarette lighter adapter included with all Wolfbox cameras. Mirror dash cams are especially popular on older vehicles because they add a modern 12-inch touchscreen and GPS functionality without touching the factory head unit.
Frequently Asked Questions
Q: How do you install a dash cam step by step?
A: Insert the SD card, clean the windshield and attach the mount below the rearview mirror, route the power cable along the headliner and A-pillar to the dashboard, plug into the 12V socket or fuse box, then adjust the camera angle and test. Total time is 15–30 minutes for the cigarette lighter method.
Q: Do you need a hardwire kit to install a dash cam?
A: No. A 12V cigarette lighter adapter provides full driving-mode functionality. A hardwire kit is only needed if you want 24/7 parking surveillance — keeping the camera active and monitoring for motion or impacts after you turn off the engine.
Q: How do you hide dash cam wires?
A: Tuck the cable under the rubber headliner trim along the top edge of the windshield, run it across the headliner to the A-pillar, press it behind the A-pillar trim with a plastic removal tool, and route it into the dashboard. The cable becomes invisible with no cutting required.
Q: What SD card does a 4K dash cam need?
A: Use a Class 10, U3, or V30 rated microSD card. The speed rating ensures the card can write high-bitrate 4K footage continuously without frame drops or file corruption. The Wolfbox G900 Pro accepts cards up to 512GB.
Q: Can I install a mirror dash cam myself?
A: Yes. Wolfbox mirror dash cams use elastic straps that fit over your factory rearview mirror in under 20 minutes — no adhesives, no drilling. The rear camera runs to the back windshield and connects with a single cable. Hardwiring for parking mode is the only step that requires more time and basic electrical knowledge.
Recommended Dash Cams for 2026
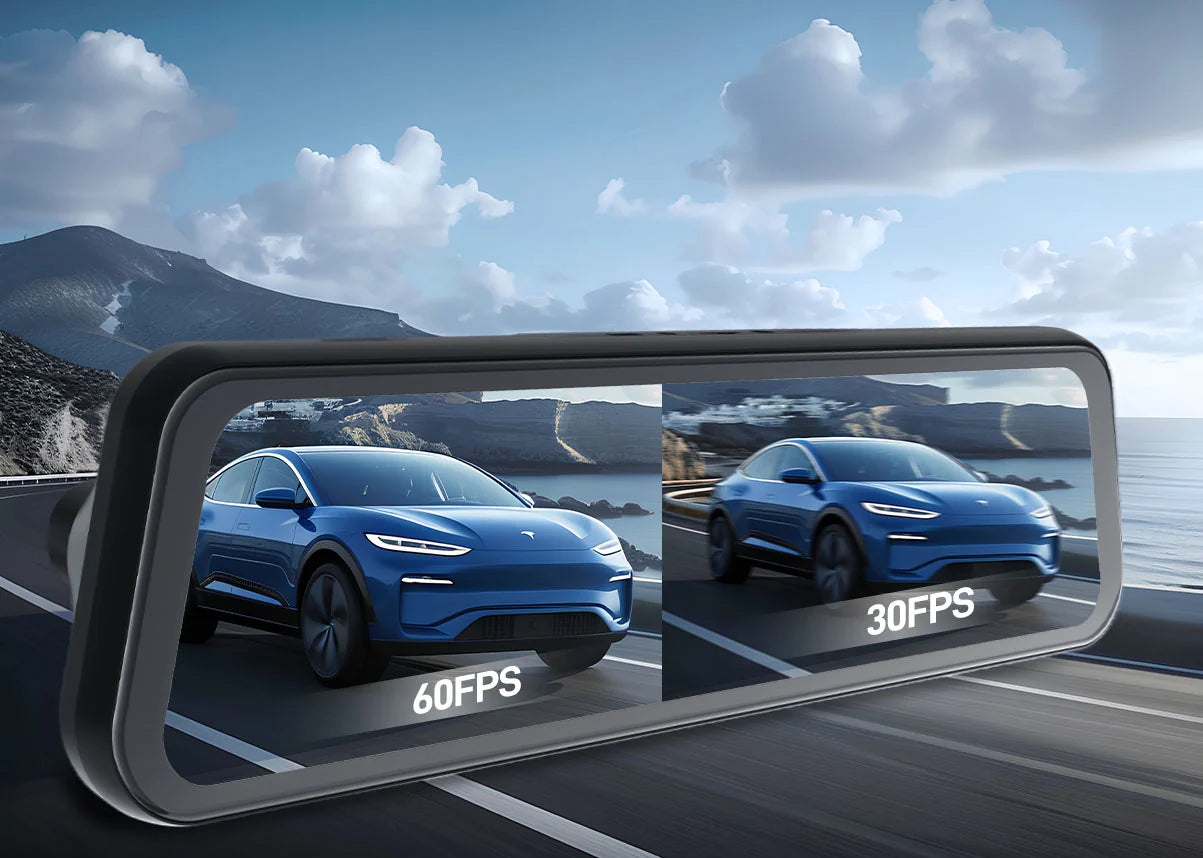
For drivers who want the cleanest installation with the broadest feature set, the Wolfbox G900 Pro is the standout choice. The elastic-strap mirror mount eliminates adhesive positioning guesswork, the 12-inch IPS display shows both cameras immediately on startup, and the voice control lets you trigger recording locks or take photos hands-free while driving. For rideshare and fleet use, the G900 TriPro adds interior recording with infrared night vision. Both are available at wolfbox.com with a 30-month exclusive warranty.

Leave a comment
All comments are moderated before being published.
This site is protected by hCaptcha and the hCaptcha Privacy Policy and Terms of Service apply.