





WOLFBOX Brands
WOLFBOX Brands
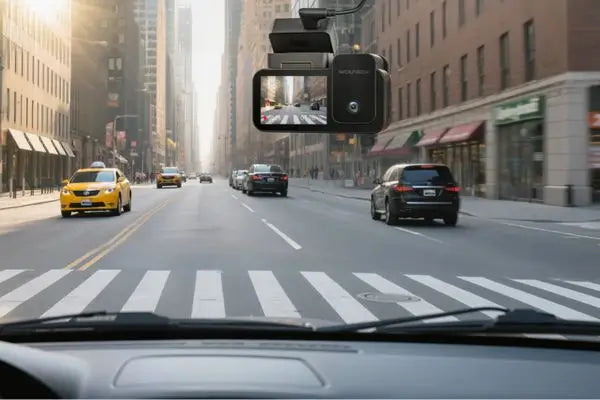
You can install a dash cam in your car to make your driving safer and keep the track of what is happening on the road. When you have everything recorded, it gives you peace of mind. It can also help with insurance claims if there’s an accident.
This guide will show you how to wire your dashcam. You’ll learn which tools you need, how to plan the wire route and how to hide the wires neatly. It will also explain how to power both front and rear dash cams.
Table of contents
Before you start, you should make sure that you have all the tools and supplies.
A good plan will make wiring much easier and will help you avoid problems later. Before you start running wires, you should think about where each cable will go. Proper planning will keep your car looking tidy and your wires safe.
One of the most common ways to hide your dash cam wire is by running it up along the A-pillar (the area between your windshield and the door). You just need to tuck it in gently between the trim and the car, which will keep the cable hidden and out of your way.
The headliner which is the fabric covering of your car’s ceiling is a perfect place to hide wires. You can carefully slide the wire under the edge of the headliner so it’s neat and not visible.
Do not run any wires near airbag zones. Airbags are usually located near the A-pillars and along the edge of the roof. You must always check the manual of your car or look for airbag markings and make sure your wiring avoids these spots.
Check that no wire is coming in the way of the steering wheel, gas pedal, seat tracks, seat belts or anything that moves. Taking the time to plan your wiring will help you avoid both messy wires and possible safety risks.
Wiring your dash cam to your car’s cigarette lighter is the easiest way to get power to your dashcam.
If you want a clean and long-lasting setup, you should go for hardwiring of your dash cam. This will give your dash cam power even when the car is off (for parking mode).
Hardwiring your dash cam makes the installation look tidy and it’s a great option if you want both regular and parking coverage.
Many dash cam kits come with a rear camera for extra safety. If you have a rear camera, it will let you record what happens behind you as well.
Related: How to Install a Rear Dash Cam in Your Car
A two-camera setup gives you coverage for both ends of your vehicle and is helpful for parking, reversing or checking what happens in traffic.
If you don’t want to use the cigarette lighter or fuse box, there are other ways to give power to your dash cam.
Dash cams can also take power from external battery packs. These are rechargeable batteries you can hide in your glove box or under a seat. They can power your dash cam for hours or even days which is very helpful for parking mode when you don’t want to use your car’s own battery.
Most cars have an OBD-II port under the dashboard, usually near the driver’s seat. You can get a special OBD-II power cable for dash cams. You can plug it into the port and your dash cam will work, often getting both switched and constant power for parking mode. This way is easy and will not affect the main wiring of your vehicle.
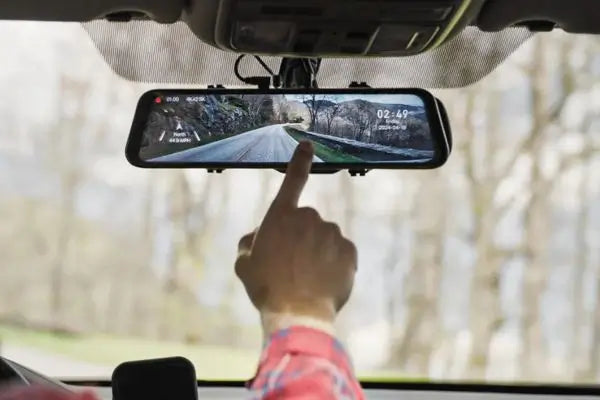
If your car has auto-dimming mirrors, you can tap into the power coming from the mirror to power your dash cam. This will help you keep the setup clean and reduce the need for extra cables.
Turn on your car and check if your dash cam powers up. You should make sure that both the front and rear cameras work as you want them to.
Make sure the wiring does not interfere with any vehicle controls such as the steering wheel or pedals. The wires should not obstruct your view or movement.
You should check the recording function of your dash cam to make sure it’s capturing footage consistently without interruptions.
Dash cams can sometimes overheat if the wiring is not installed properly. You should make sure the installation does not cause the camera to overheat by routing the wires away from hot surfaces.
It might seem difficult to install and wire a dash cam but with the right plan and some patience, you can do it yourself. Whether you want to use the cigarette lighter to quickly setup or hardwire the dash cam for a cleaner and more secure result, you can get a valuable footage that can help you in any driving situation.
It is very important to make sure your installation is safe and your wires are hidden and tidy. As long as you’re careful, your dash cam will be ready to record whenever you need it. Dash cam brands like Wolfbox give you kits that work well with most cars and make the job easier. Take your time, follow these steps and soon you’ll feel much safer every time you drive.
How do I wire my dash cam straight to my car?
You can hardwire your dash cam by using a special kit that connects to your car’s fuse box. This means your camera will always have power (even when the car is off), so you can use features like parking mode.
How do I connect my dash cam to my power supply?
You can either plug your camera’s power cord into the cigarette lighter or use a hardwiring kit to connect directly to the fuse box for a cleaner and more reliable power source.
Should I hardwire my dash cam or just use the lighter port?
Hardwiring usually looks better and is more reliable, but using the lighter port is much faster and simpler. It depends on your needs and how much time you want to spend on the installation.
Related: Hardwired vs Plug-In Dash Cam: Which One Should You Choose?